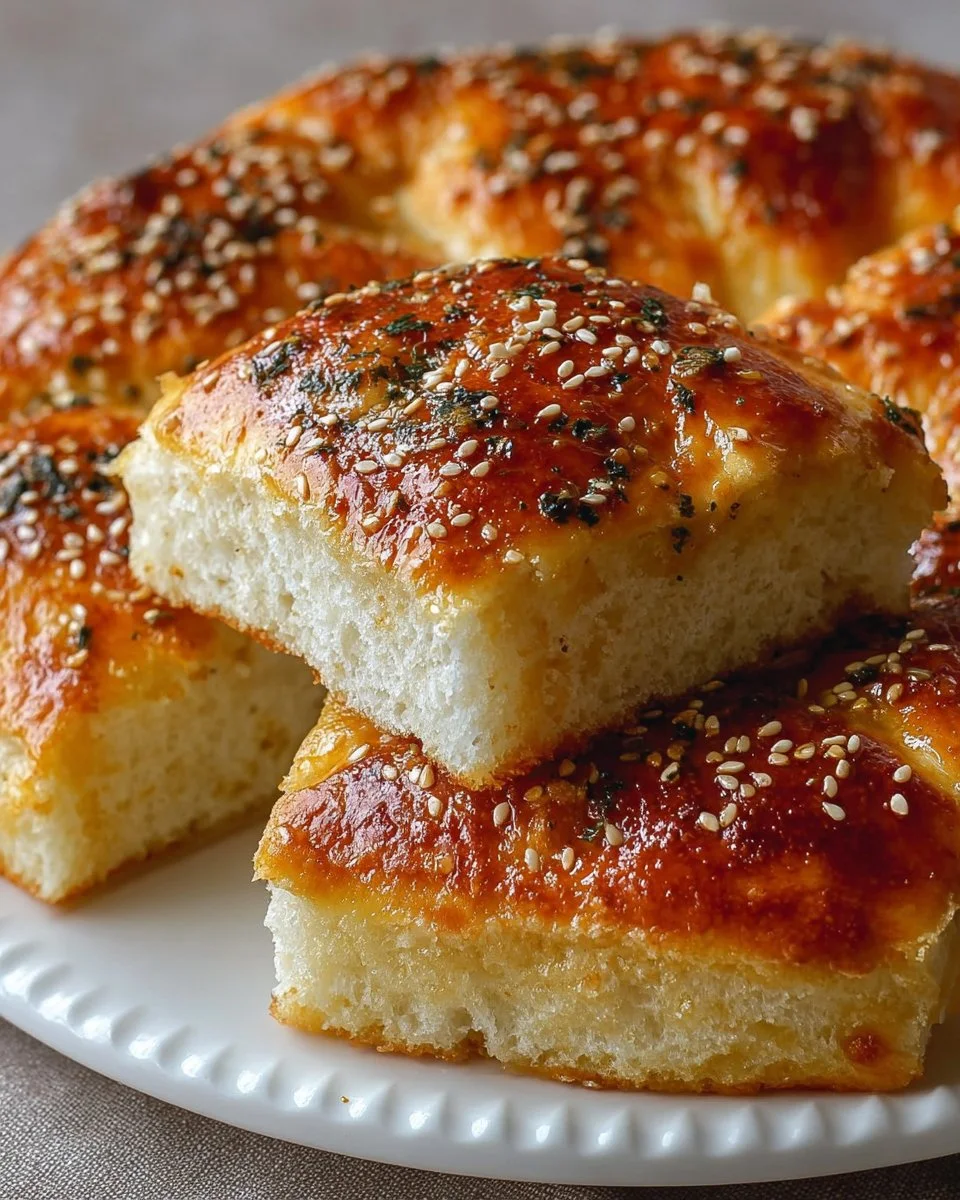
The aroma of warm bread wafts through the kitchen, wrapping you in a comforting embrace that feels like home. The moment you break apart a piece of this Easy No-Oven Turkish Bread, the crunchy, golden crust gives way to a soft and pillowy interior that beckons you to take a bite. With every morsel, a medley of flavors dances upon your palate—subtle notes of olive oil blend harmoniously with the earthiness of sesame seeds. Each piece invites you to experience a perfect balance of crisp and tender textures, offering a delicious harmony that turns a simple meal into a memorable feast.
Imagine serving this beautifully rustic bread at your dining table. Family and friends gather around, their eyes wide with anticipation as you showcase your creation. The bread’s warm, inviting nature pulls everyone closer, urging them to reach out and grab a piece. As you break it apart, the release of steam carries the delightful scent of freshly cooked dough—comforting, nostalgic, and utterly irresistible. This Easy No-Oven Turkish Bread makes any gathering a reason to celebrate, filling the atmosphere with laughter, stories, and the joyous clink of plates.
Why You’ll Love This Easy No-Oven Turkish Bread
This Turkish Bread isn’t just a culinary delight; it’s a versatile companion that enhances every dish it touches. With its easy-to-follow recipe, you can whip it up in a flash, even on your busiest days. Imagine serving this warm bread alongside your favorite dips, using it to scoop up a hearty stew, or simply enjoying it on its own with a drizzle of good olive oil. Whatever the occasion, this bread stands out with its homely charm and delightful flavors.
It fills your kitchen with warmth, bringing a sense of comfort that only freshly baked bread can provide. Whether you’re hosting a dinner party or craving a cozy night in, this bread fits seamlessly into any scenario. And the best part? You can prepare it right on your stovetop, eliminating the need for an oven, making it ideal for those warm summer days when you don’t want to heat up your home. Once you experience the joy of breaking bread with loved ones, you’ll come back to this recipe time and time again.
Preparation Phase & Tools to Use
To craft this delightful bread, a few essential tools become your best friends in the kitchen:
- Mixing Bowl: A sturdy bowl is vital for combining your dry and wet ingredients, providing ample space for kneading without making a mess.
- Rolling Pin: Use a rolling pin to transform your dough into perfectly flat circles. If you don’t have one, a wine bottle or any smooth surface will do.
- Non-Stick Skillet: The right skillet allows for even cooking, ensuring that every piece reaches golden perfection without sticking.
- Spatula: This handy tool helps you flip the bread effortlessly as it cooks, allowing even browning on both sides.
Before diving in, consider these practical preparation tips:
- Ensure your ingredients are at room temperature for best results.
- Gather everything you need before getting started so you can focus on the fun of creating.
Ingredients for Easy No-Oven Turkish Bread
- 2 cups all-purpose flour: The backbone of your bread, providing structure and softness.
- 1 teaspoon salt: Enhances flavor and balances the sweetness of the dough.
- 1 teaspoon sugar: Feeds the yeast you may choose to include, adding a hint of sweetness.
- 1 teaspoon baking powder: Acts as a leavening agent to help the bread rise and become airy.
- 3/4 cup water: Provides moisture, creating the perfect dough consistency—adjust slightly based on your flour type.
- 2 tablespoons olive oil: Introduces a rich flavor that elevates the bread’s taste; you can substitute with melted butter if preferred.
- Sesame seeds (optional): Adds a delightful crunch and nutty flavor; sprinkle them on just before cooking.
How to Make Easy No-Oven Turkish Bread
- In a mixing bowl, combine the flour, salt, sugar, and baking powder. Stir well to integrate all dry ingredients.
- Gradually add the water and olive oil to the dry mixture. Mix until a shaggy dough starts to form.
- Knead the dough on a floured surface for about 5 minutes until it transforms into a smooth and elastic ball. Don’t rush this step; it’s where the magic happens!
- Divide the dough into equal portions. Roll each portion into a flat circle about 1/4 inch thick. Aim for uniform thickness for even cooking.
- Heat a non-stick skillet over medium heat, allowing it to get hot. Cook each bread for 2-3 minutes on each side until lightly golden and dotted with brown spots.
- If desired, sprinkle sesame seeds on top of the bread while cooking, allowing them to toast slightly, enhancing flavor.
- Serve warm with your favorite dips, or alongside soups and salads, inviting everyone to gather and enjoy.
Chef’s Notes & Helpful Tips
- Make-ahead tips: You can prepare the dough a day in advance. Simply wrap it tightly in plastic wrap and refrigerate. When you’re ready to cook, bring it to room temperature before rolling.
- Cooking alternatives: This recipe can also be adapted for an air fryer. Cook at 350°F for about 5-7 minutes for a crispy crust without using a skillet.
- Customization ideas: Experiment with different flavored oils, herbs, or spices mixed into the dough for unique variations. Try garlic powder, rosemary, or even chopped olives for an extra burst of flavor.
Common Mistakes to Avoid
- Over-kneading the dough: Too much kneading can result in a dense texture. Aim for just enough time to develop elasticity—about 5 minutes should suffice.
- Incorrect heat levels: Cooking at too high a temperature can scorch the bread’s surface while leaving the inside raw. A medium setting strikes the perfect balance.
- Using cold water: Cold water can hinder the formation of proper gluten. Ensure your water is at room temperature for best results.
What to Serve With Easy No-Oven Turkish Bread
Pair this exquisite Turkish Bread with a variety of delightful accompaniments:
- Hummus: The creamy texture and rich flavor make it a natural pairing, perfect for scooping.
- Tzatziki: The coolness of this cucumber-yogurt dip balances the warm bread splendidly.
- Olive oil with balsamic vinegar: A simple yet indulgent way to enjoy your bread while enhancing every bite.
- Mezze platter: Combine cheeses, olives, roasted vegetables, and cured meats for a colorful feast.
- Soups: Serve it alongside lentil or tomato soup, perfect for mopping up every last bit.
- Salsa or dips: Any spicy or fresh dip complements the bread beautifully, adding a burst of flavor.
- Grilled meats: This bread makes an excellent sidekick to central dishes like kebabs or seasoned grilled chicken.
- Salads: Serve with a fresh garden salad to bring brightness and balance to your meal.
Storage & Reheating Instructions
- Fridge: Store leftovers in an airtight container for up to 3-4 days. The bread may lose some freshness but can be revived.
- Freezer: For longer storage, wrap the bread tightly in plastic wrap and foil, and freeze for up to a month.
- Reheating: Ideally, reheat in a skillet over low heat for a few minutes on each side, or pop it in the toaster for a quick crisp.
Estimated Nutrition Information
Approximate values per serving (based on 8 servings):
- Calories: 140
- Total Fat: 6g
- Carbohydrates: 19g
- Protein: 3g
- Fiber: 1g
(Values may vary based on specific ingredient brands used.)
FAQs
1. Can I use whole wheat flour instead of all-purpose flour?
Absolutely! Whole wheat flour will impart a nutty flavor and denser texture. Consider adding a touch more water, as whole wheat flour tends to absorb more moisture.
2. What if I don’t have olive oil?
You can substitute with melted butter, vegetable oil, or even coconut oil. Each will give a unique flavor twist while still creating delicious bread.
3. Can I make this recipe gluten-free?
Yes! Use a 1:1 gluten-free flour blend. Be sure it includes xanthan gum for the best results in texture.
4. How do I know when the bread is cooked through?
The bread should look lightly golden and puffy with a slight bounce when you press it. A toothpick inserted should come out a bit moist but not wet.
5. Is there any way to add more flavor to the bread?
Certainly! Incorporate herbs like rosemary or thyme directly into the dough, or experiment by adding spices like paprika or cumin for a flavorful twist.
As you gather with loved ones to share moments filled with joy, laughter, and the warm embrace of Easy No-Oven Turkish Bread, remember that food connects us all. This simple yet exquisite creation embodies the heart and soul of cooking. So roll up your sleeves, gather your ingredients, and embark on this delightful journey. You’ll discover that, as with all wonderful recipes, the best ingredient is the love that you pour into each bite.
Print
Easy No-Oven Turkish Bread
- Prep Time: 10 minutes
- Cook Time: 15 minutes
- Total Time: 25 minutes
- Yield: 8 servings 1x
- Category: Bread
- Method: Stovetop
- Cuisine: Turkish
- Diet: Vegetarian
Description
A delightful and easy recipe for Turkish bread prepared on the stovetop, featuring a crispy crust and soft interior.
Ingredients
- 2 cups all-purpose flour
- 1 teaspoon salt
- 1 teaspoon sugar
- 1 teaspoon baking powder
- 3/4 cup water
- 2 tablespoons olive oil
- Sesame seeds (optional)
Instructions
- Combine the flour, salt, sugar, and baking powder in a mixing bowl.
- Gradually add the water and olive oil to the dry mixture.
- Mix until a shaggy dough starts to form.
- Knead the dough on a floured surface for about 5 minutes until smooth.
- Divide the dough into equal portions and roll each into a flat circle about 1/4 inch thick.
- Heat a non-stick skillet over medium heat and cook each bread for 2-3 minutes on each side until golden.
- Sprinkle sesame seeds on top while cooking, if desired.
- Serve warm with your favorite dips or alongside meals.
Notes
Store leftovers in an airtight container for up to 3-4 days. Can be frozen for long-term storage.
Nutrition
- Serving Size: 1 piece
- Calories: 140
- Sugar: 1g
- Sodium: 250mg
- Fat: 6g
- Saturated Fat: 1g
- Unsaturated Fat: 5g
- Trans Fat: 0g
- Carbohydrates: 19g
- Fiber: 1g
- Protein: 3g
- Cholesterol: 0mg