As you sink your spoon into a delicate cup of No Bake Cheesecake, a world of creaminess beckons, inviting you to indulge in its luscious allure. Each bite reveals a perfectly balanced sweetness that dances playfully on your tongue, while the graham cracker crust adds a delightful crunch. The velvety texture envelops your senses, creating a symphony of flavors that harmonize beautifully. As you savor the moment, the light whiff of vanilla lingers, invoking cozy memories of family gatherings, celebrations, and simple pleasures. This dessert whispers sweet nothings, coaxing your heart into a state of bliss.
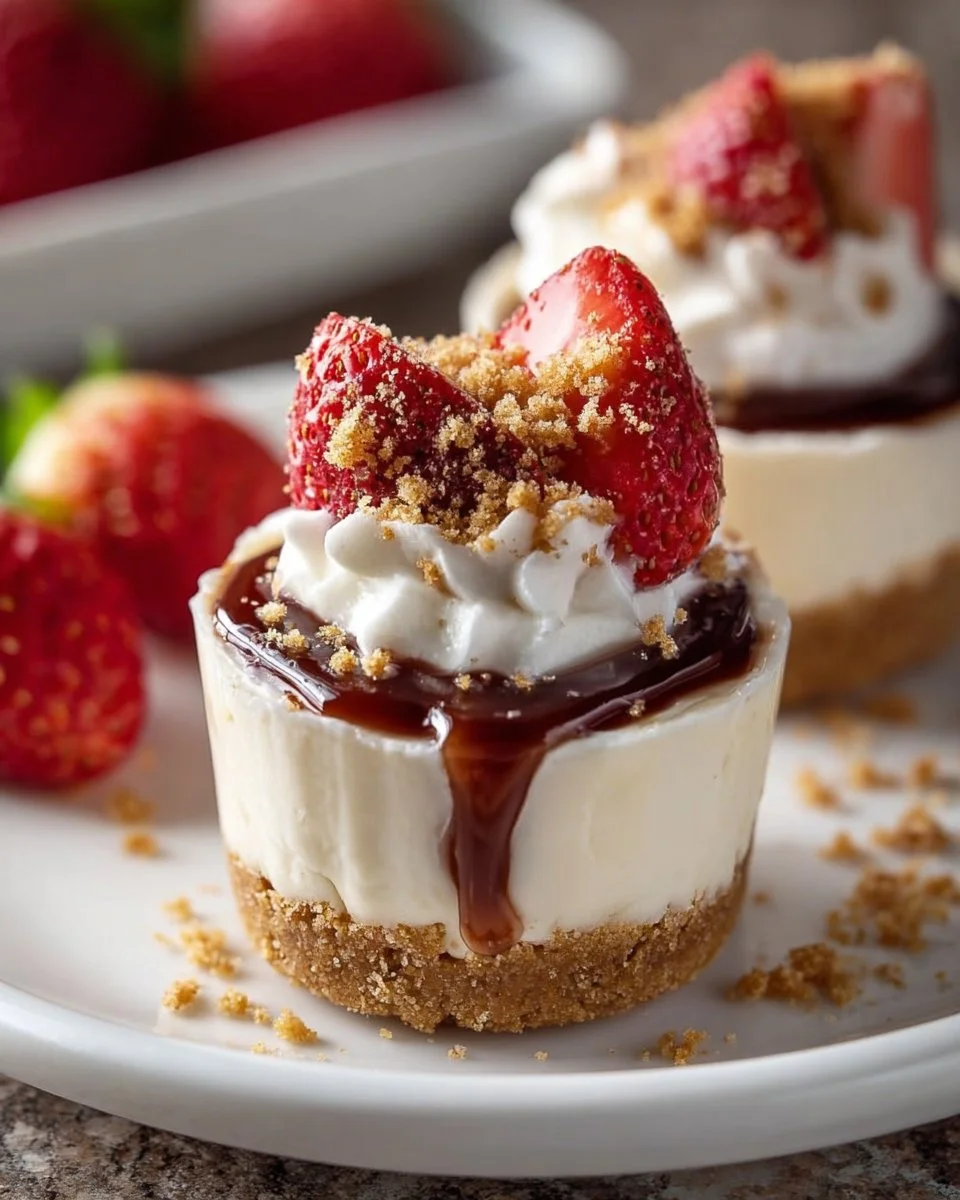
No Bake Cheesecake Cups aren’t just a treat; they are a comforting embrace, a homemade masterpiece that brings joy with every bite. Picture this: creamy cheesecake nestled in charming cups, adorned with fresh fruit or drizzled in velvety chocolate. It transforms any boring afternoon into a special occasion, a simple yet profound way to elevate your dessert experience. These cups are surprisingly easy to make, freeing you from the oven and keeping the kitchen cool. Isn’t that every summer dessert lover’s dream?
Why You’ll Love This No Bake Cheesecake Cups
No Bake Cheesecake Cups are an enchanting blend of simplicity and sophistication. Their creamy filling, paired with the contrasting crunch of graham cracker crumbs, brings joy to the palate. You might love them for their adaptability, as they fit seamlessly into any occasion – be it a birthday bash, a summer picnic, or just a cozy night in with friends. Plus, they stand out for their customizable toppings, allowing your creativity to shine.
Every spoonful embodies the essence of rich cheesecake, yet without the fuss of baking. Perfect as individual servings, these delightful cups eliminate the mess and stress of slicing a traditional cheesecake. Whether you dollop fresh berries on top or drape them in rich chocolate sauce, one thing is clear: your taste buds are in for a treat.
Preparation Phase & Tools to Use
To create these No Bake Cheesecake Cups, you’ll need some essential tools that make the process smooth and enjoyable.
- Mixing Bowls: Use at least two mixing bowls; one for the cream cheese mixture and another for whipping the cream. The separation allows for easier folding later on.
- Electric Mixer: A handheld or stand mixer simplifies the process, whipping cream into stiff peaks effortlessly.
- Spatula: A good spatula helps you gently fold the whipped cream into the cream cheese without losing all that airy lightness.
- Dessert Cups: Choose decorative cups that add visual appeal – think clear glass to showcase those gorgeous layers.
When preparing, make sure your cream cheese is softened at room temperature; this step helps in achieving a silky mixture. Don’t rush it! Take time to incorporate your ingredients gently, savoring each step as you craft your delightful dessert.
Ingredients for No Bake Cheesecake Cups
Here’s what you’ll need to create these little wonders:
- 8 oz cream cheese, softened: The star ingredient! It offers the rich and creamy base of your cheesecake.
- 1/2 cup powdered sugar: This sweetener melts beautifully, adding a delicate sweetness. If you’re looking for a healthier option, consider using honey or maple syrup.
- 1 cup heavy cream: Whipped to perfection, this adds airy lightness and a luxurious mouthfeel.
- 1 tsp vanilla extract: Adding warm, aromatic notes, vanilla complements the sweetness and enhances the overall flavor.
- Graham cracker crumbs: The quintessential crust, providing a satisfying crunch. For a gluten-free option, use crushed gluten-free cookies.
- Fresh fruit or chocolate for topping: These toppings add not only flavor but also vibrant color. Consider strawberries, blueberries, or a drizzle of dark chocolate sauce.
With these ingredients in hand, you’re set to immerse yourself in the joy of dessert-making!
How to Make No Bake Cheesecake Cups
-
Prepare the cream cheese mixture: In a mixing bowl, combine the softened cream cheese and powdered sugar. Use an electric mixer to beat them together until you achieve a smooth, creamy consistency. Make sure there are no lumps – this is key to a silky cheesecake!
-
Whip the heavy cream: In a separate bowl, incorporate the heavy cream and vanilla extract. Using the electric mixer, whip until stiff peaks form. You’ll know it’s ready when the cream holds its shape and isn’t too runny.
-
Combine the mixtures: Now, gently fold the whipped cream into the cream cheese mixture. Use a spatula to incorporate the whipped cream without deflating it. This ensures your cheesecake remains light and airy.
-
Layer the cups: Grab your dessert cups and begin layering. Start with a generous spoonful of graham cracker crumbs at the bottom, followed by a layer of the cheesecake mixture. Repeat until the cups are filled, finishing with the cheesecake on top.
-
Chill: Cover the cups with plastic wrap and pop them in the refrigerator. Allow them to chill for at least 2 hours. This step lets the flavors meld and makes your cheesecake cups set beautifully.
-
Add toppings: Just before serving, top each cup with fresh fruit or a drizzle of chocolate sauce. Let your creativity flow as you decorate; after all, we eat with our eyes first!
Chef’s Notes & Helpful Tips
-
Make-ahead tips: Feel free to prepare these cups a day in advance. They hold up beautifully in the fridge and allow you to focus on other dishes for your occasion. Just layer them up and let the refrigerator do the work!
-
Customizations: Want to switch things up? Try incorporating lemon zest for a refreshing twist or chocolate chips in the base for extra chocolatey goodness. You can also play with the toppings – how about crushed nuts for added crunch, or a swirl of caramel sauce for a decadent enhancement?
Common Mistakes to Avoid
While this recipe is straightforward, certain pitfalls can ruin your creamy masterpiece:
-
Not softening the cream cheese: Cold cream cheese won’t blend well, resulting in lumps. Always leave it out for a bit at room temperature or microwave it briefly for a few seconds to soften.
-
Overmixing the whipped cream: It’s tempting to keep going, but overwhipping can lead to a grainy texture. Stop once stiff peaks form – your cheesecake will be creamy and dreamy!
What to Serve With No Bake Cheesecake Cups
These delightful cups pair perfectly with a variety of flavors. Here are some delicious suggestions:
- Coffee: A rich espresso or creamy latte enhances the sweetness of the cheesecake, making for a perfect afternoon snack.
- Fresh Berries: Strawberries, raspberries, or blueberries complement the cheesecake’s richness and add a refreshing tartness.
- Chocolate Tart: Pairing with a small slice of chocolate tart offers a decadent chocolate escape after the rich cheesecake.
- Ice Cream: Vanilla or berry-flavored ice cream enriches the experience, adding another layer of flavor.
- Mimosas: For a brunch gathering, nothing beats the bright, bubbly cheer of a mimosa against the creamy texture of cheesecake.
- Spiced Tea: A warm chai or spiced tea balances beautifully with the cold, sweet dessert.
Storage & Reheating Instructions
Storing your No Bake Cheesecake Cups is easy! Keep them covered in the refrigerator for up to 5 days. If you want to prepare ahead of time, these cups can also be made and frozen. Pack them tightly in an airtight container and store them for up to a month. When you’re ready to enjoy, let them thaw overnight in the fridge. There’s no need for reheating; simply top and serve fresh!
Estimated Nutrition Information
Approximate values per serving (based on 1 cup):
- Calories: 310
- Total Fat: 26g
- Saturated Fat: 16g
- Cholesterol: 90mg
- Carbohydrates: 22g
- Sugar: 16g
- Protein: 3g
(Note: Values may vary based on specific ingredients used and portion sizes. Always consider your unique dietary needs.)
FAQs
1. Can I use low-fat cream cheese?
Absolutely! Low-fat cream cheese can work, but it may slightly alter the richness of the dessert. Expect a lighter flavor but a delicious result nonetheless.
2. How long do these cheesecake cups last in the fridge?
If stored properly in an airtight container, your No Bake Cheesecake Cups will stay fresh for about 5 days in the fridge.
3. Can I make these cheesecake cups without an electric mixer?
Yes, a whisk and some good old-fashioned elbow grease can work! Just be sure to mix the cream cheese and sugar until it’s smooth and the whipped cream until it reaches stiff peaks.
4. What can I substitute for heavy cream?
For a lighter option, consider using coconut cream or whipped topping. However, the texture might differ slightly, but you can still achieve a lovely cheesecake.
5. How can I prevent the cheesecake from being too sweet?
Adjust the powdered sugar to your desired level of sweetness. Always taste as you go – it’s the best way to tailor the flavors to your preferences!
Conclusion
Now that you have the blueprint for creating these irresistible No Bake Cheesecake Cups, it’s time to unleash your inner chef. With their creamy texture, crunchy layers, and endless customizations, you have a delightful delight waiting to be shared. Whether you serve them for a special occasion or as a sweet treat for yourself, these cups promise to bring smiles and happy bellies. Gather your ingredients, prepare your kitchen, and let the magic unfold. You deserve a little slice of sweetness today! Enjoy every velvety bite!
Print
No Bake Cheesecake Cups
- Prep Time: 20 minutes
- Cook Time: 120 minutes
- Total Time: 140 minutes
- Yield: 4 servings 1x
- Category: Dessert
- Method: Chilling
- Cuisine: American
- Diet: Vegetarian
Description
Indulge in these creamy and delicious No Bake Cheesecake Cups, topped with fresh fruit or chocolate. Perfect for any occasion!
Ingredients
- 8 oz cream cheese, softened
- 1/2 cup powdered sugar
- 1 cup heavy cream
- 1 tsp vanilla extract
- Graham cracker crumbs
- Fresh fruit or chocolate for topping
Instructions
- Prepare the cream cheese mixture: In a mixing bowl, combine the softened cream cheese and powdered sugar. Use an electric mixer to beat them until creamy.
- Whip the heavy cream: In a separate bowl, incorporate the heavy cream and vanilla extract. Whip until stiff peaks form.
- Combine the mixtures: Gently fold the whipped cream into the cream cheese mixture using a spatula.
- Layer the cups: In dessert cups, start with graham cracker crumbs, followed by a layer of cheesecake mixture. Repeat until filled.
- Chill: Cover and refrigerate for at least 2 hours to allow the flavors to meld.
- Add toppings: Just before serving, decorate each cup with fresh fruit or chocolate sauce.
Notes
These cups can be made a day in advance and stored in the fridge. Substitute low-fat cream cheese or different toppings as desired.
Nutrition
- Serving Size: 1 cup
- Calories: 310
- Sugar: 16g
- Sodium: 250mg
- Fat: 26g
- Saturated Fat: 16g
- Unsaturated Fat: 8g
- Trans Fat: 0g
- Carbohydrates: 22g
- Fiber: 0g
- Protein: 3g
- Cholesterol: 90mg